In research and industrial labs, temperature accuracy is critical. Whether you're sintering materials, performing thermal analysis, or conducting heat treatment, even slight deviations in furnace temperature can compromise data integrity and material properties. That’s why calibration and routine maintenance are essential for every laboratory furnace.
In this blog, we’ll explore why temperature accuracy matters, how to calibrate your furnace, and the best practices for ongoing maintenance.
Why Temperature Accuracy Matters
- Experimental Reproducibility: Inaccurate temperatures can lead to inconsistent results across tests.
- Material Behaviour: Many processes—like phase transitions or sintering—occur within narrow temperature ranges.
- Equipment Safety: Temperature overshoots can damage internal components, leading to costly repairs.
How to Calibrate Your Lab Furnace
Calibration ensures your furnace delivers accurate and consistent temperature readings, aligning its internal sensors with a traceable external standard. This process is essential for maintaining the precision required in thermal processes such as sintering, annealing, or materials testing. Follow these steps for effective calibration:
1. Use a Certified Reference Thermocouple
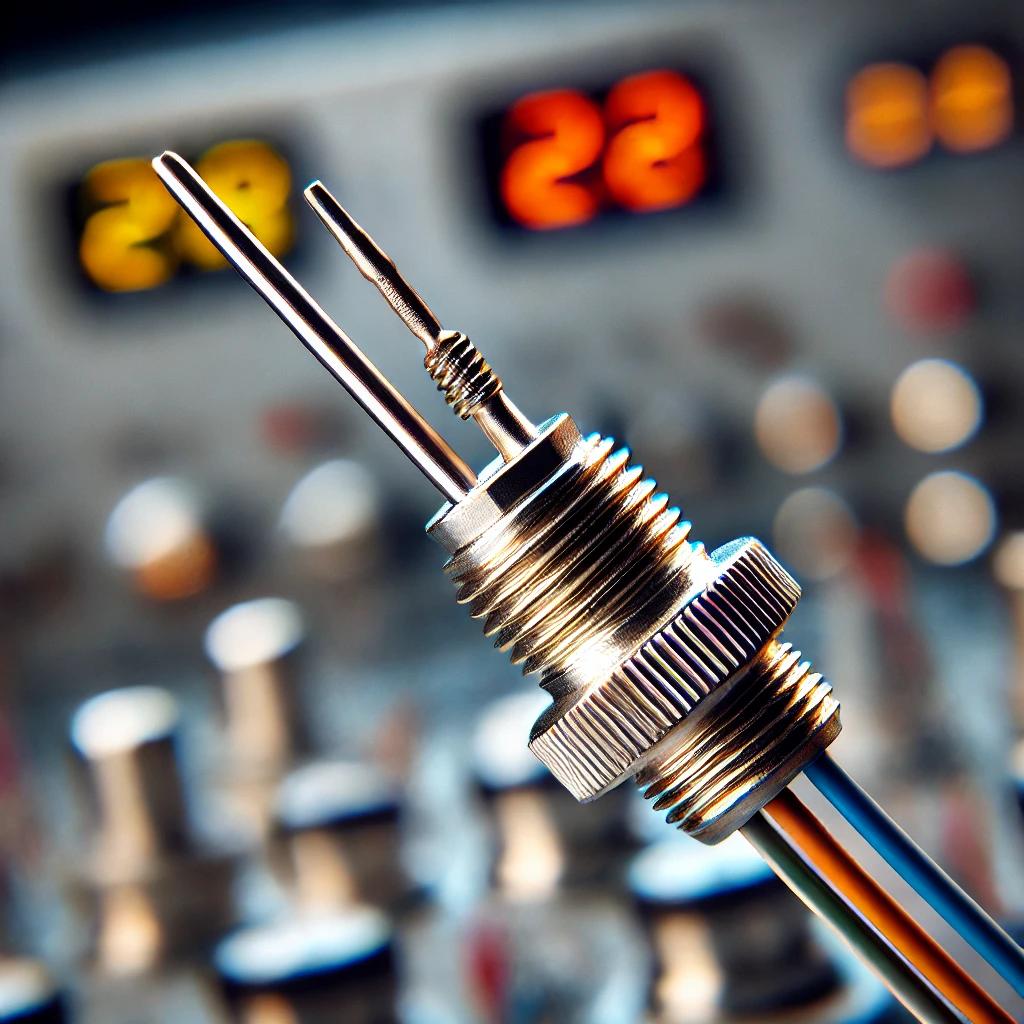
A reference thermocouple is a highly accurate temperature sensor that has been calibrated in accordance with recognized standards, such as those set by NIST, and is used as a trusted benchmark to verify the precision of furnace temperature readings.
Choose the Right Type: Use a certified thermocouple suitable for your furnace’s operating range. Common types include:
- Type K sensors are typically used for general applications and can handle temperatures up to approximately 1260°C, whereas Type S or R sensors are preferred for more precise measurements at higher temperatures, reaching up to around 1600°C.
Correct Placement Matters:
- Insert the reference probe in the centre of the furnace chamber—the area where your samples typically sit.
- Ensure the thermocouple does not touch the chamber walls, heating elements, or insulation, as this can create false readings due to thermal conduction.
Stabilize Before Recording:
- Allow the furnace to reach and stabilize at each target temperature for at least 10–15 minutes before taking readings to ensure thermal equilibrium.

2. Set Benchmark Temperatures
Rather than calibrating at just one point, use a range of temperatures to verify performance across the spectrum of your typical operations.
Select at least 2–3 calibration points, such as:
- Low: ~400°C
- Medium: ~800°C
- High: ~1200°C or the upper limit of your operational range
These benchmarks reflect your routine application temperatures and help identify if the error margin increases at higher or lower ranges—a common occurrence in some systems.
3. Compare and Analyse Temperature Readings
Once each setpoint is stabilized:
- Record the displayed temperature on the furnace’s built-in controller.
- Use a precision digital thermometer or data logger to log the true temperature measured by the reference thermocouple.
- Calculate the deviation between the two. If the difference exceeds ±2–5°C, adjustment is necessary. Smaller differences may be tolerable depending on your application’s sensitivity.
Note consistency across all points:
- If the discrepancy follows a linear pattern, it can be addressed by applying a constant adjustment.
- If it varies significantly across temperatures, sensor degradation or controller issues may be at play.
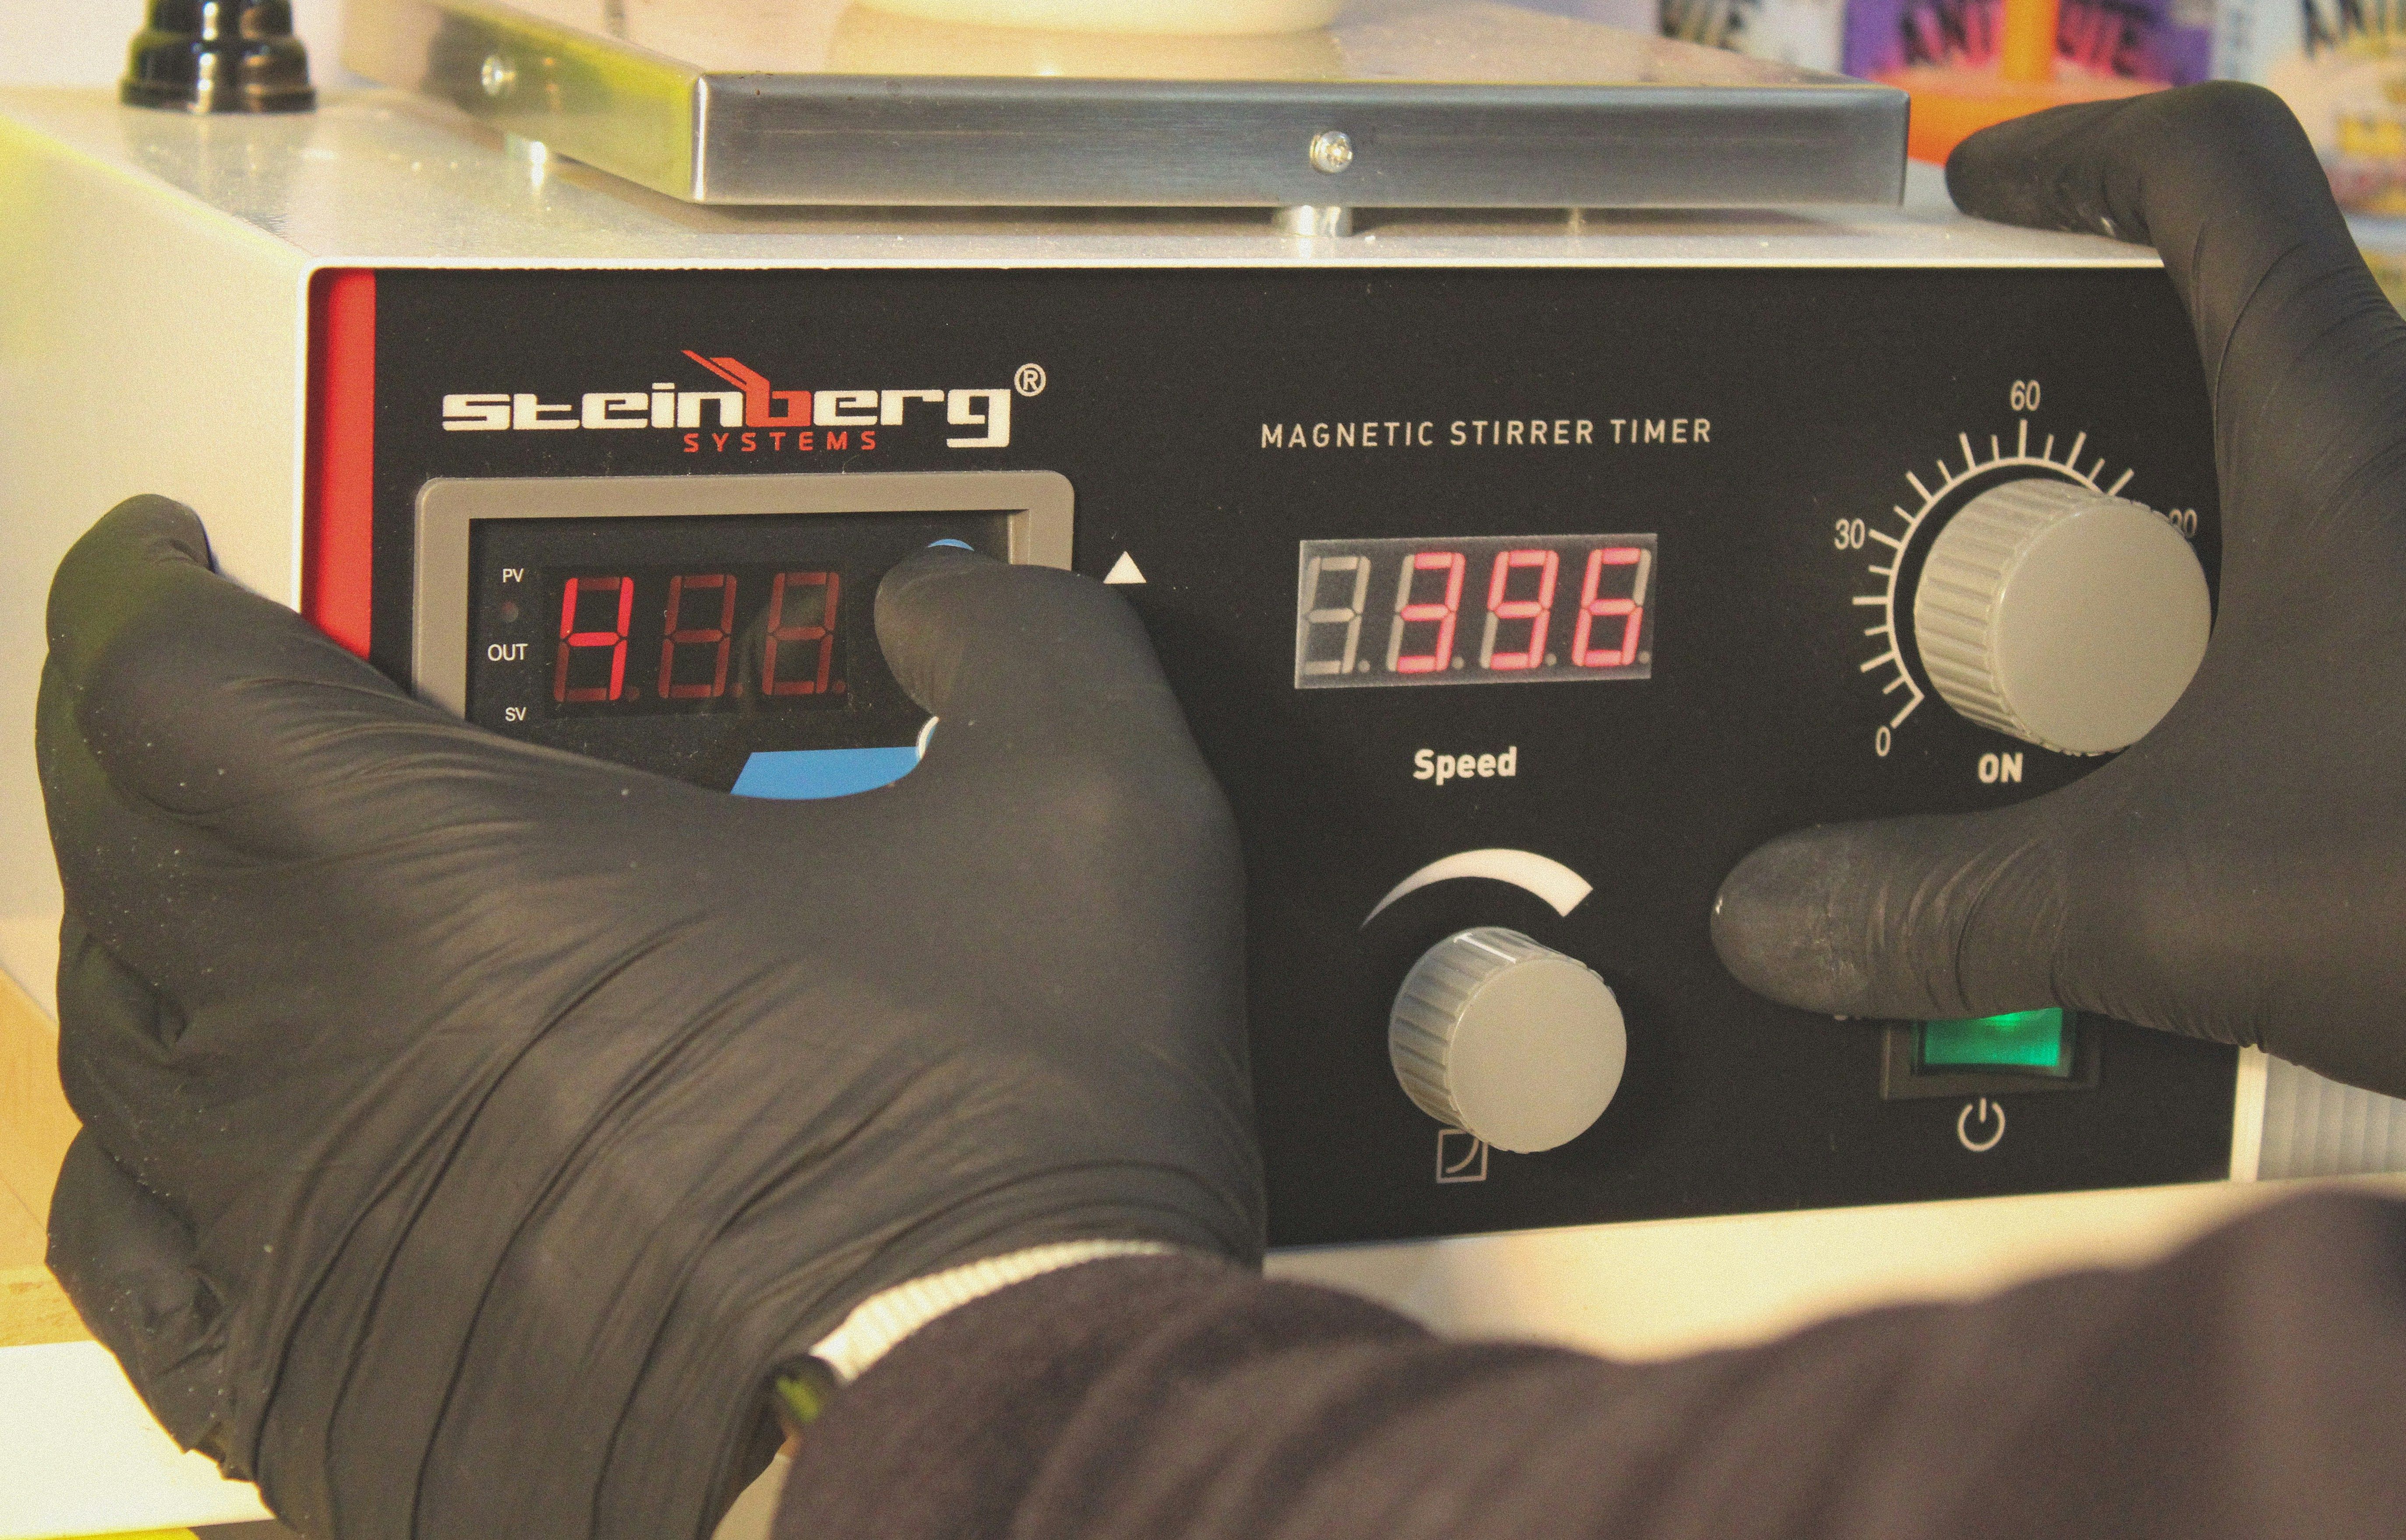
4. Adjust the Controller Settings
To ensure the furnace readings match the reference standards:
Apply an Offset:
- Many digital PID controllers, such as the Eurotherm 3216, offer an input offset feature that lets users adjust for measurement deviations and improve future accuracy.
Recalibrate Input Sensor Configuration:
- Ensure the controller is set to the correct thermocouple type.
- Re-enter or fine-tune calibration values via the controller's configuration menu or associated PC software.
Advanced Systems:
- Some modern furnaces support software-based tuning and automatic calibration using built-in algorithms. Refer to the manufacturer’s manual for detailed steps.
Important: Make sure to recheck the readings after adjustments to confirm alignment.

5. Document the Calibration Process
Comprehensive documentation is essential to ensure quality assurance, meet regulatory standards, and enable reproducibility.
Log each calibration event, including:
- Date and time
- Furnace ID or model
- Reference thermocouple type and serial number
- Measured deviations and final adjustments made
Use a Calibration Record Template:
- Add sections to document the technician's identity, the environmental settings, and the tools or instruments utilized.
Maintain records as part of your lab’s maintenance documentation—especially critical for ISO 17025, GLP, or GMP environments.
Proper calibration not only ensures scientific accuracy but also extends your furnace’s life and enhances operational safety. By integrating these steps into your routine maintenance schedule, you’ll build a more reliable and compliant laboratory process.
Ongoing Maintenance Tips for Temperature Accuracy
Inspect Thermocouples Regularly
- Replace worn or oxidized thermocouples every 6–12 months, or sooner in high-use environments.
- Ensure proper placement for accurate chamber readings.
Clean the Chamber
- Remove debris or material build-up that may affect heat distribution or sensor accuracy.

Check for Insulation Degradation
- Heat loss and inconsistent temperatures may occur if the insulation is compromised or deteriorated.
- Inspect annually and replace as needed.
Verify PID Settings
- Ensure that proportional (P), integral (I), and derivative (D) values are optimized for your heating profile.
- Use auto-tune features if available.
Monitor with External Tools
- Use thermal imaging or external data loggers to verify consistent heat zones and detect anomalies.
Maintaining temperature accuracy in laboratory furnaces is not a one-time task but an ongoing process that demands attention to detail, proper tools, and thorough documentation. Regular calibration and proactive maintenance ensure not only the reliability of your data but also the longevity and safety of your equipment. By adopting a systematic approach to temperature control, your lab can achieve more consistent results, meet regulatory standards, and minimize costly downtime due to equipment failure.
