In laboratory environments, precise thermal control is essential—whether you're conducting materials research, annealing metals, sintering ceramics, or performing thermal cycling tests. One of the most powerful tools at your disposal is laboratory furnace control software, which allows you to automate complex, multi-step heating profiles with high accuracy and repeatability.
In this guide, we’ll walk through the concept, benefits, and step-by-step setup of automated temperature profiling using modern furnace software.
What Is a Temperature Profile?
A temperature profile is a predefined sequence of heating and cooling steps that control how a furnace reaches, maintains, and changes temperature over time. A typical profile might include:
- Ramp-Up: Heat from room temperature to 800°C at 5°C/min
- Soak: Hold at 800°C for 2 hours
- Ramp-Down: Cool down to 100°C at 3°C/min
- Repeat/End: Loop the cycle or shut down
These steps are essential in applications like stress relief, diffusion bonding, and material phase transformation studies.
Why Automate Temperature Profiles?
Manual control of furnaces is inefficient and error-prone. Here's what automation offers:
- Repeatability: Ensure identical results in every run
- Precision: Control temperature ramps to fractions of a degree per minute
- Time Efficiency: Free up staff by running unattended cycles
- Data Logging: Automatically record temperature, cycle status, and errors
- Safety: Add automated alarms and shutoff procedures
Prerequisites: What You’ll Need
Before automating, ensure your setup includes:
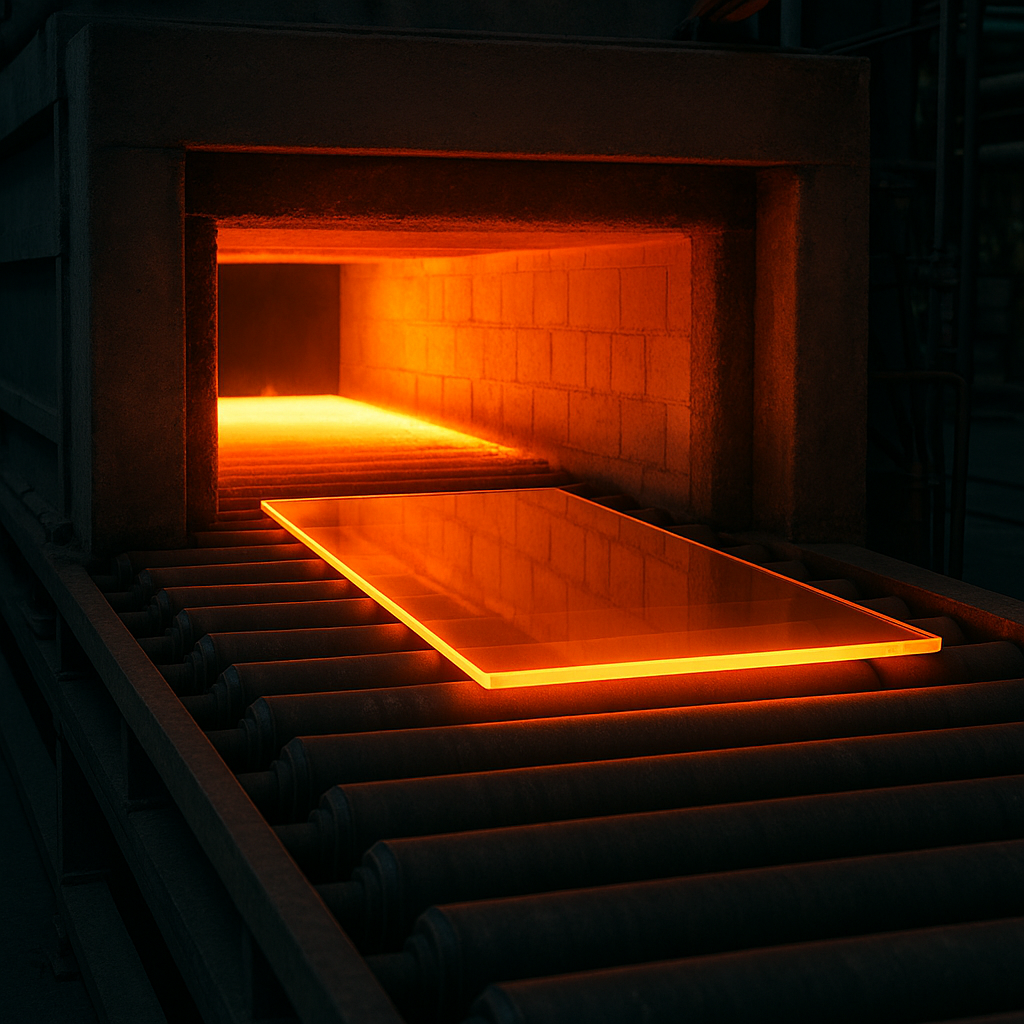
- A Programmable Laboratory Furnace (muffle, tube, box, etc.)
- Furnace Control Software (proprietary or third-party)
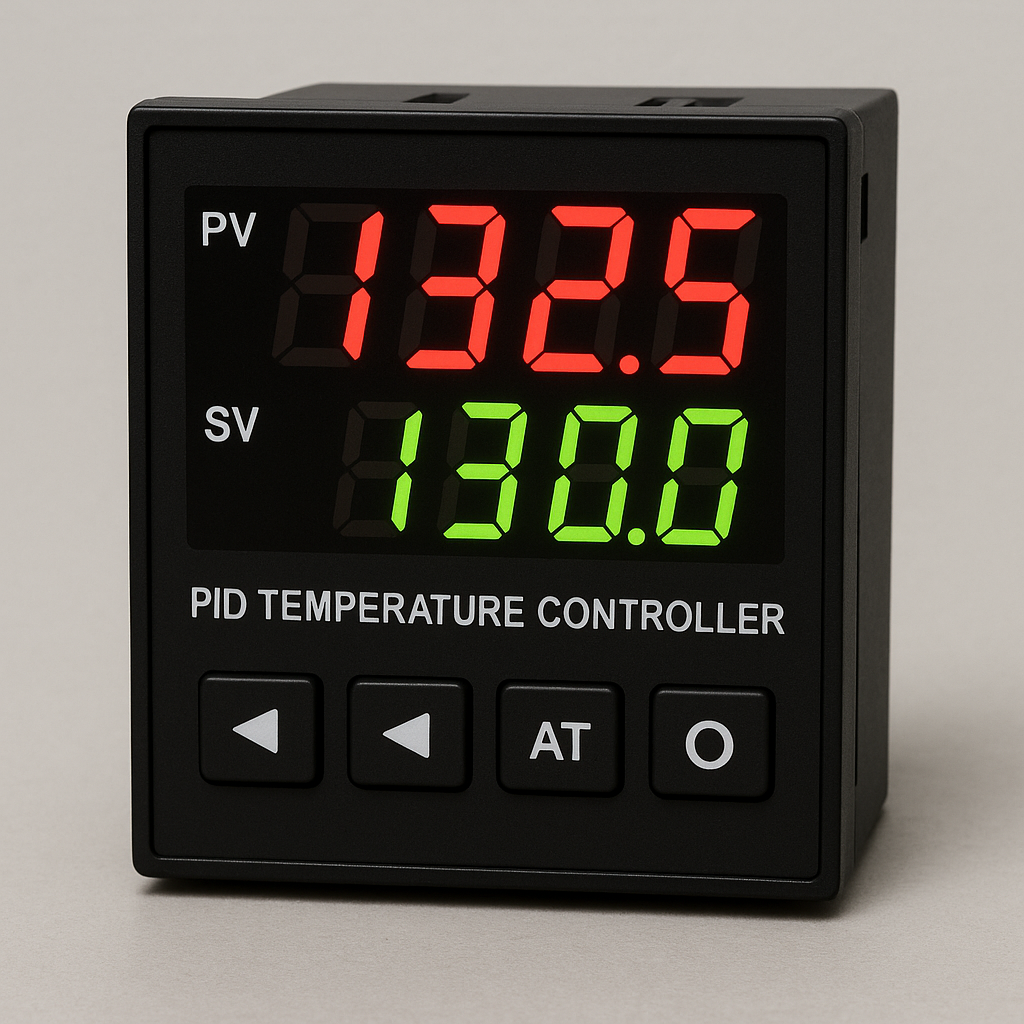
- A Compatible Controller (e.g., Eurotherm, Omron, Watlow, etc.)
- PC or HMI Interface with USB, RS-232/RS-485, or Ethernet connection
Most modern systems integrate via Modbus, OPC-UA, or serial protocols.

Step-by-Step: Automating a Temperature Profile
1. Connect the Furnace to the Software
- Install the control software on your computer
- Connect to the furnace controller via the proper interface (check COM port or IP address)
- Verify communication using the software’s diagnostics panel
Tip: Use the auto-detect feature if available.
2. Create a New Program/Profile
In the software interface:
- Navigate to “Program” or “Profile Editor”
- Click “New Program”
- Name your profile (e.g., "Ceramic Firing Cycle – V1")
3. Define the Heating Steps
In this phase, you'll build the sequence of temperature changes your process requires. For each step, define the following parameters:
Target Temperature:
Indicate the target temperature for this stage, for example, 800°C.
Ramp Rate:
Specify how quickly the furnace should heat or cool, typically in degrees per minute (e.g., 5°C/min). This ensures controlled heating, avoiding thermal shock or overshoot.
Soak Time:
Set how long the furnace should hold the temperature once the target is reached (e.g., 2 hours). Soak times are critical for processes like annealing or sintering.
Hold/Exit Conditions (Optional):
Some systems let you define specific conditions that must be met before moving to the next step—such as sensor verification, manual confirmation, or time delay.
4. Add Safety and Logic Conditions (Optional)
Modern software often supports:
- Ramp-hold triggers (e.g., wait for sample sensor to reach setpoint)
- Alarms (e.g., if temp deviates ±5°C from setpoint)
- Abort conditions (e.g., open door, power drop)
These features enhance both operational control and safety throughout the process.
5. Simulate the Program (If Available)
Some software lets you run a dry simulation to:
- Check ramp rates and duration
- Confirm step transitions
- Catch logic errors
This is especially useful before running long or costly thermal processes.

6. Start the Cycle and Monitor in Real Time
When ready:
- Load the program to the controller
- Hit Start
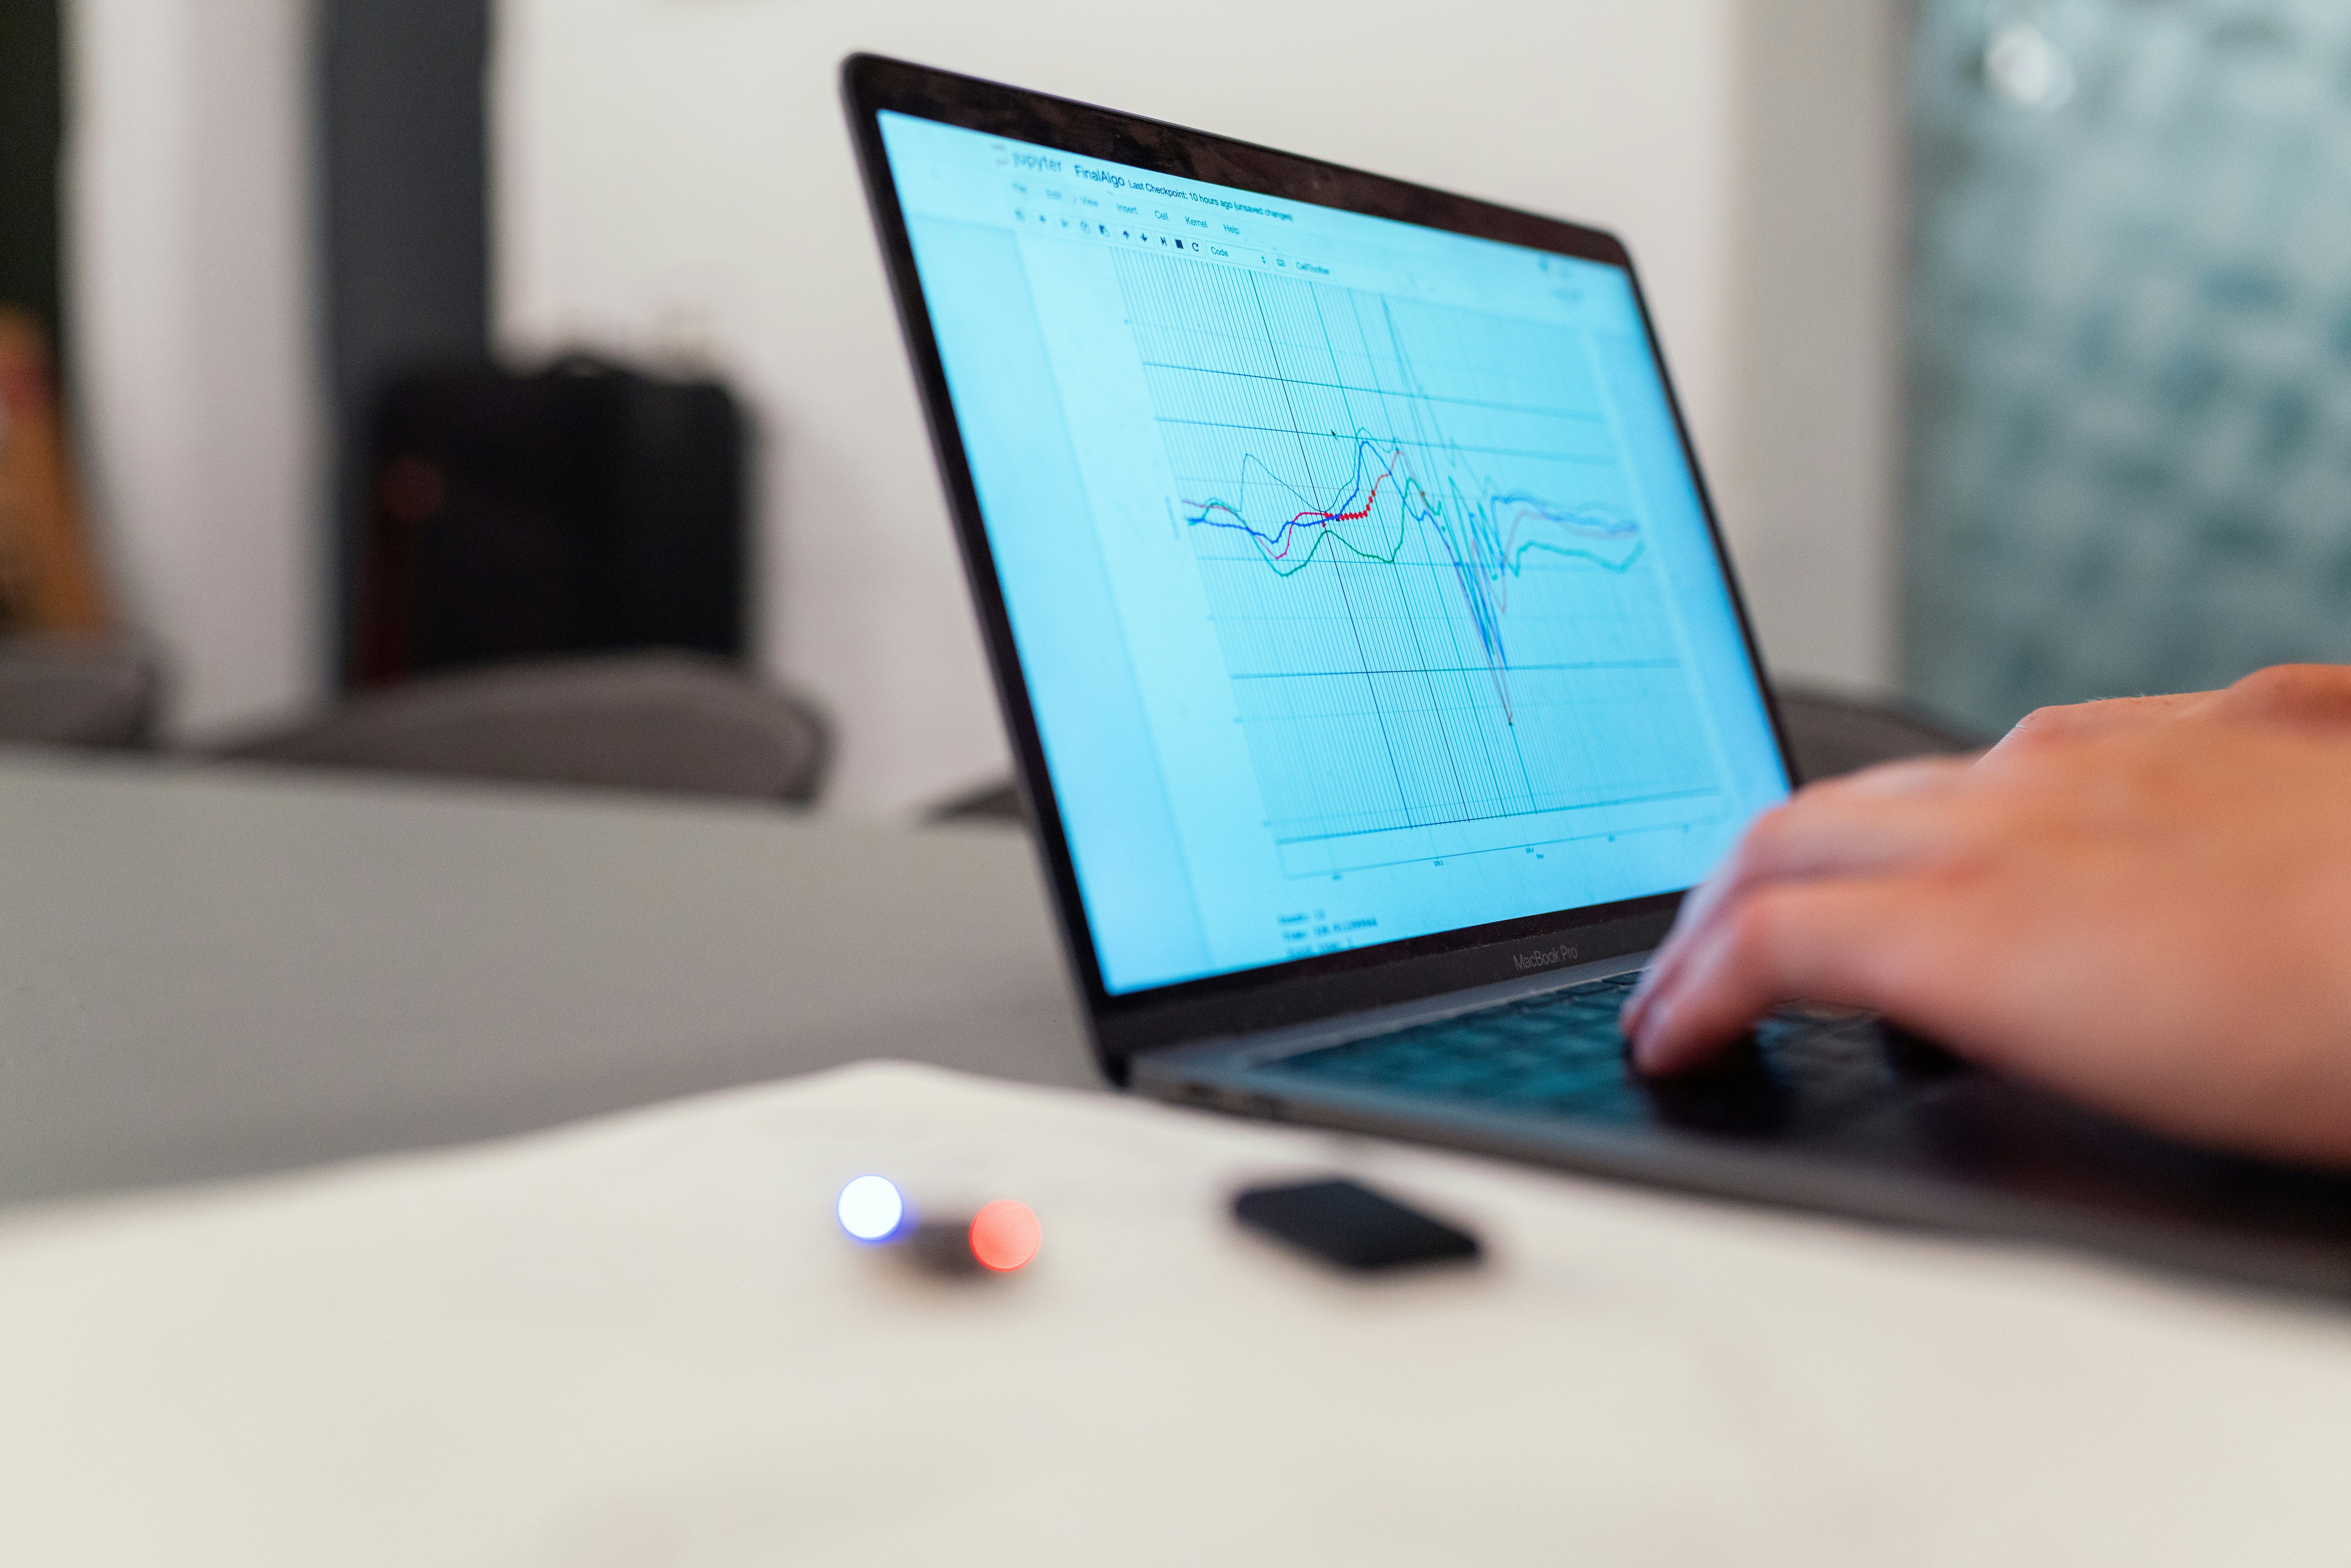
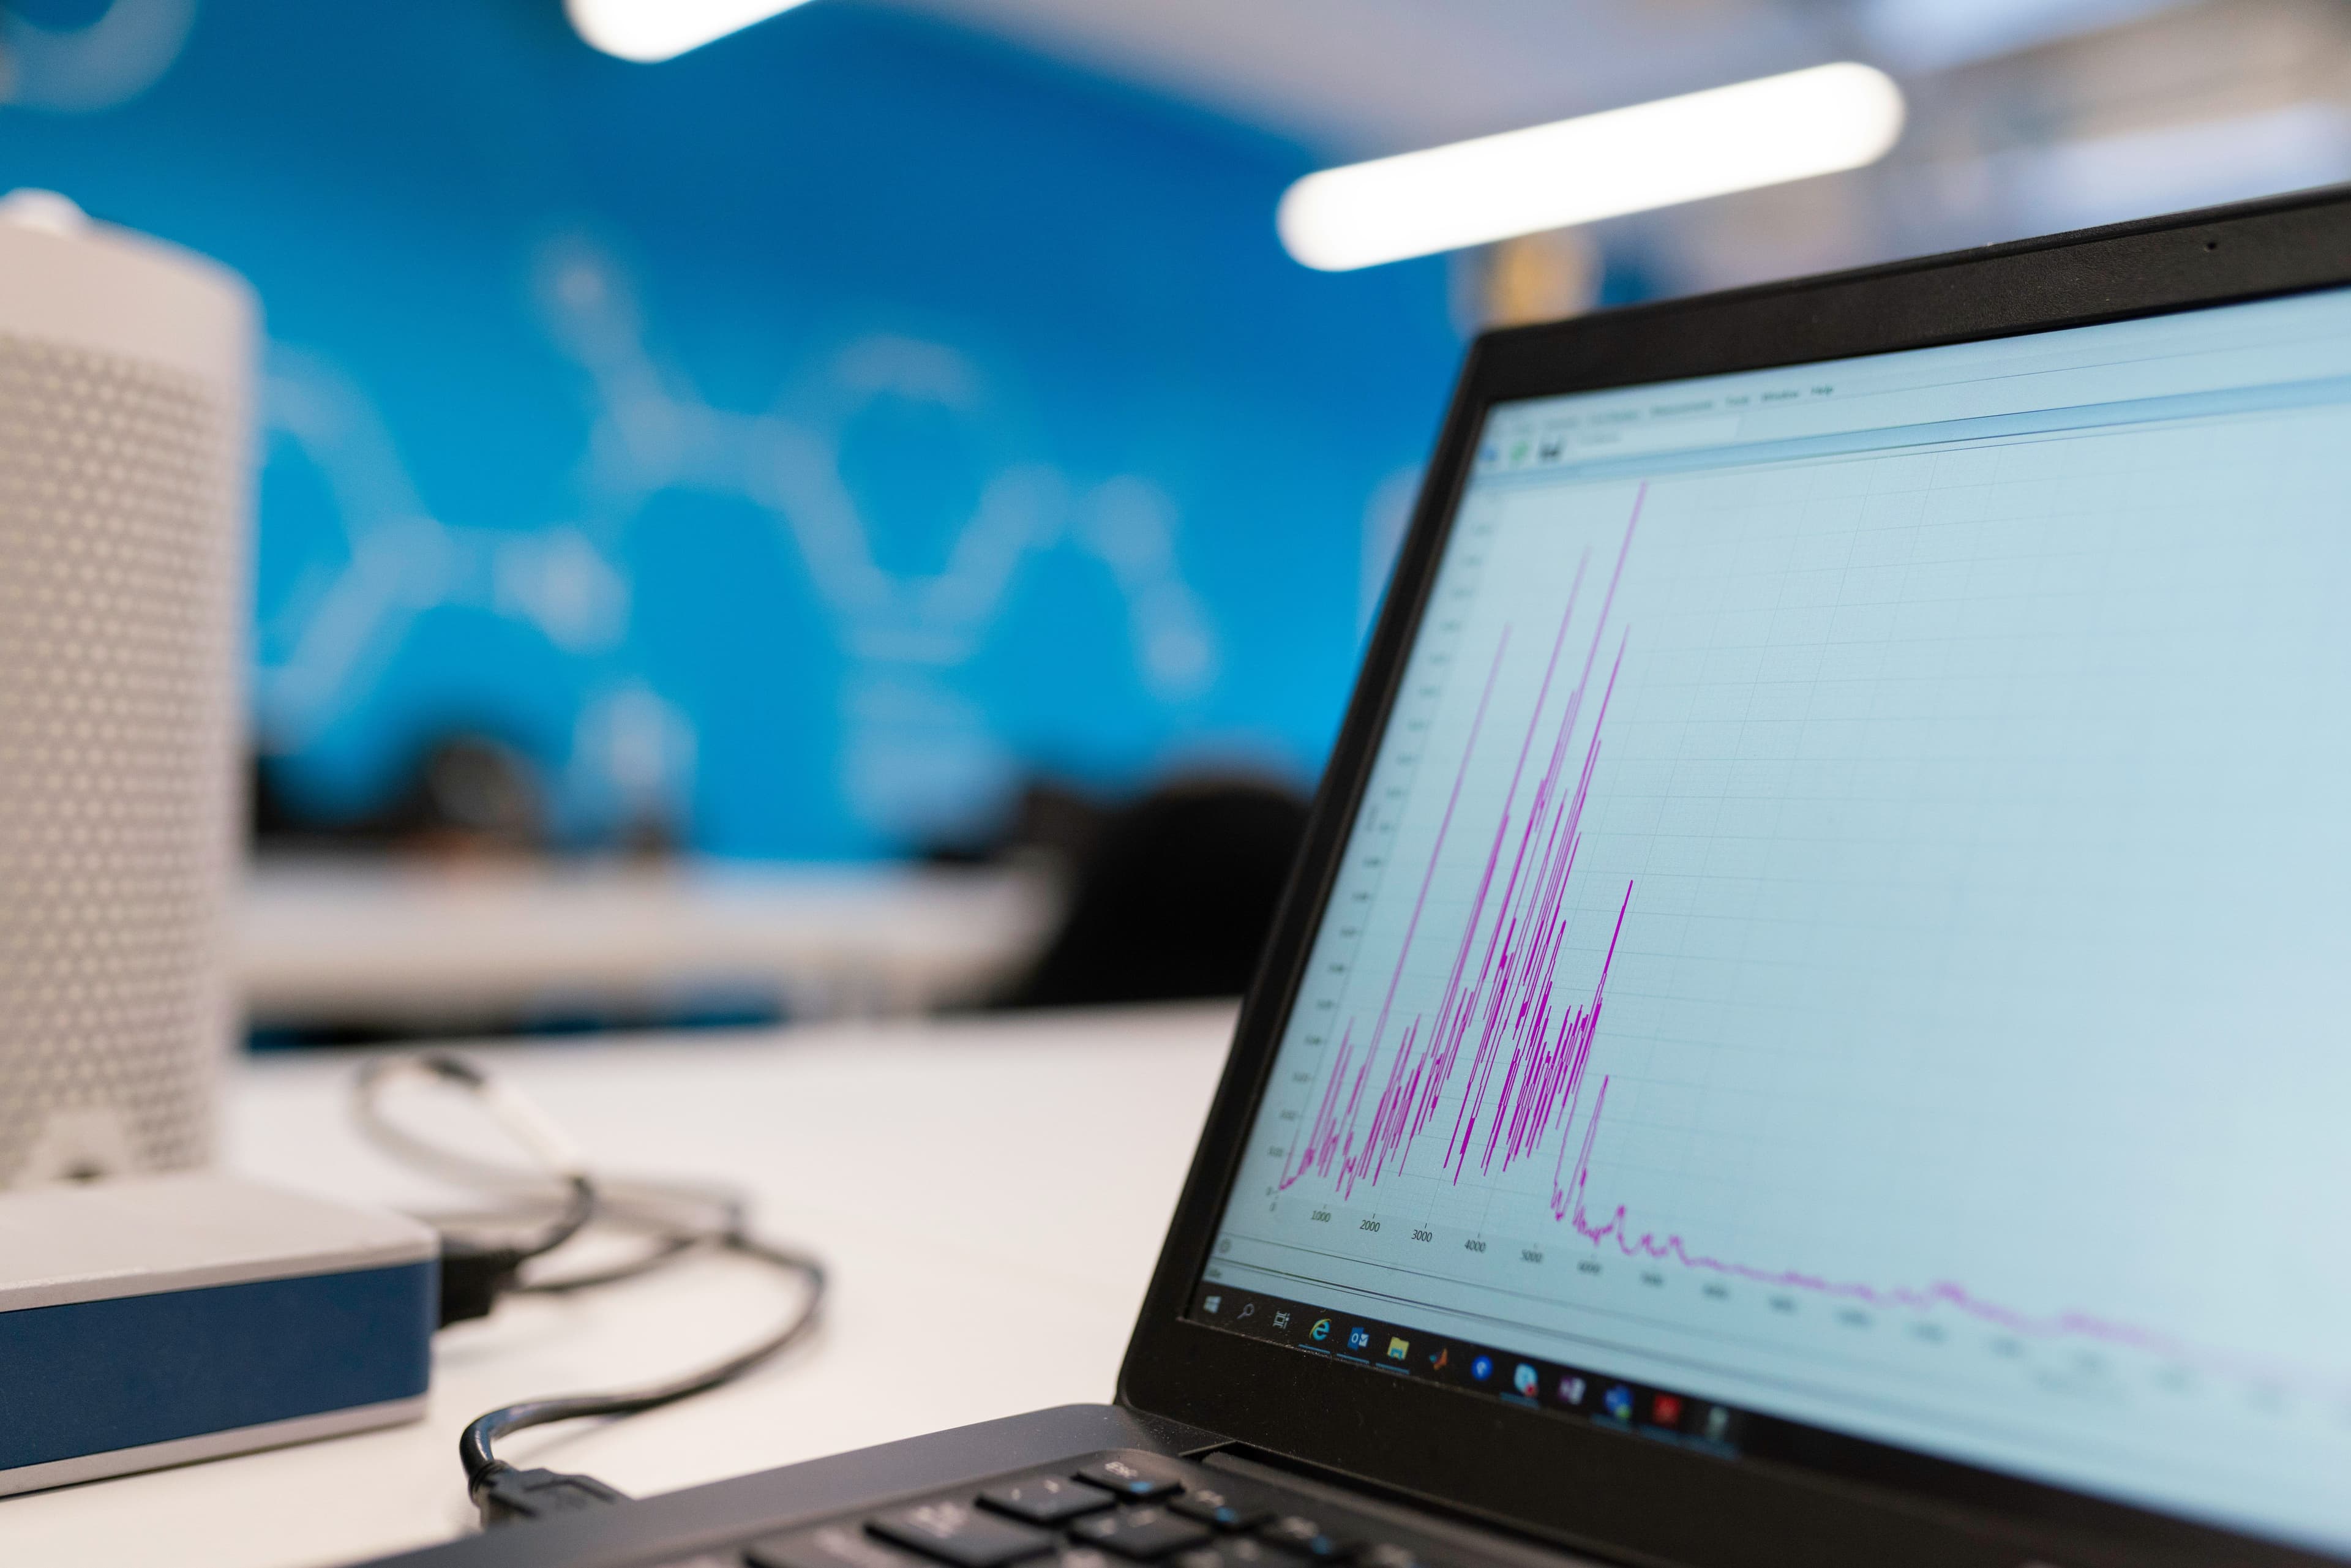
- Track real-time temperature curves, timing data, and system activity throughout the run
If your software supports it, you can remote monitor via web interface or even receive notifications for step changes and alarms.
7. Save and Export Data Logs
At the end of the cycle:
- Export the run log (CSV, PDF, etc.) for documentation
- Review the temperature curve and soak durations
- Store profiles for repeat use or auditing
This is vital for R&D reproducibility, quality control, and regulatory compliance (e.g., ISO, FDA, ASTM).
Example: 4-Step Profile for Glass Annealing
A standard automated temperature profile used in glass annealing generally includes the following steps:
Step 1
- Target Temperature: 550°C
- Ramp Rate: 10°C/min
- Soak Time: 30 minutes
Step 2
- Target Temperature: 580°C
- Ramp Rate: 2°C/min
- Soak Time: 2 hours
Step 3
- Target Temperature: 400°C
- Ramp Rate: -5°C/min (cooling)
- Soak Time: 1 hour
Step 4
- Target Temperature: 25°C (return to room temperature)
- Ramp Rate: -2°C/min (cooling)
- Soak Time: End of cycle
Following these sequential steps helps maintain consistent temperature changes and preserves the structural quality of the glass.

Final Tips
- Repeat Profiles: Create and store standard profiles that can be adapted for various materials
- Power Backup: Use UPS systems to prevent interruptions
- Remote Monitoring: Choose software that allows mobile or cloud access
- Validate Regularly: Use calibration tools to ensure temperature accuracy
Automating profiling of temperature with laboratory furnace software not only simplifies workflows—it also enhances results, safeguards samples, and enables repeatable, scalable experimentation. From heat-treating metal alloys to curing polymers and developing ceramics, automation delivers the reliability modern labs demand.
